Building a Glasshouse Stem Wall
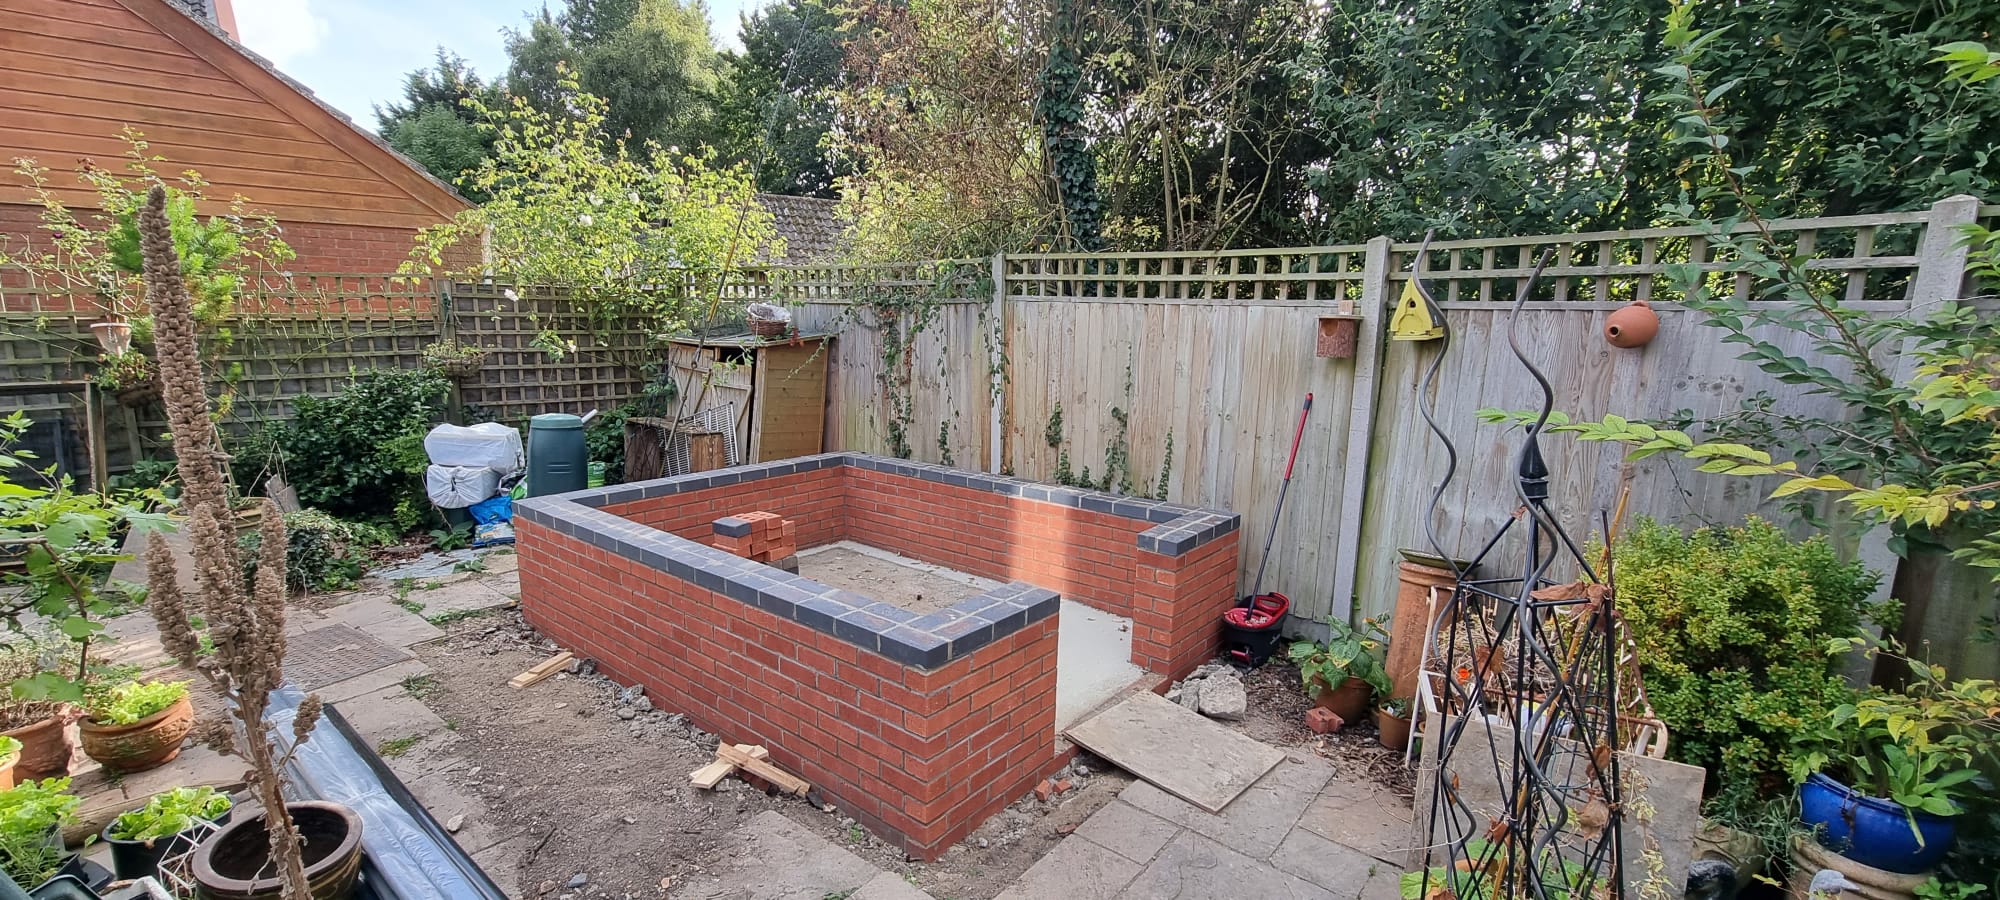
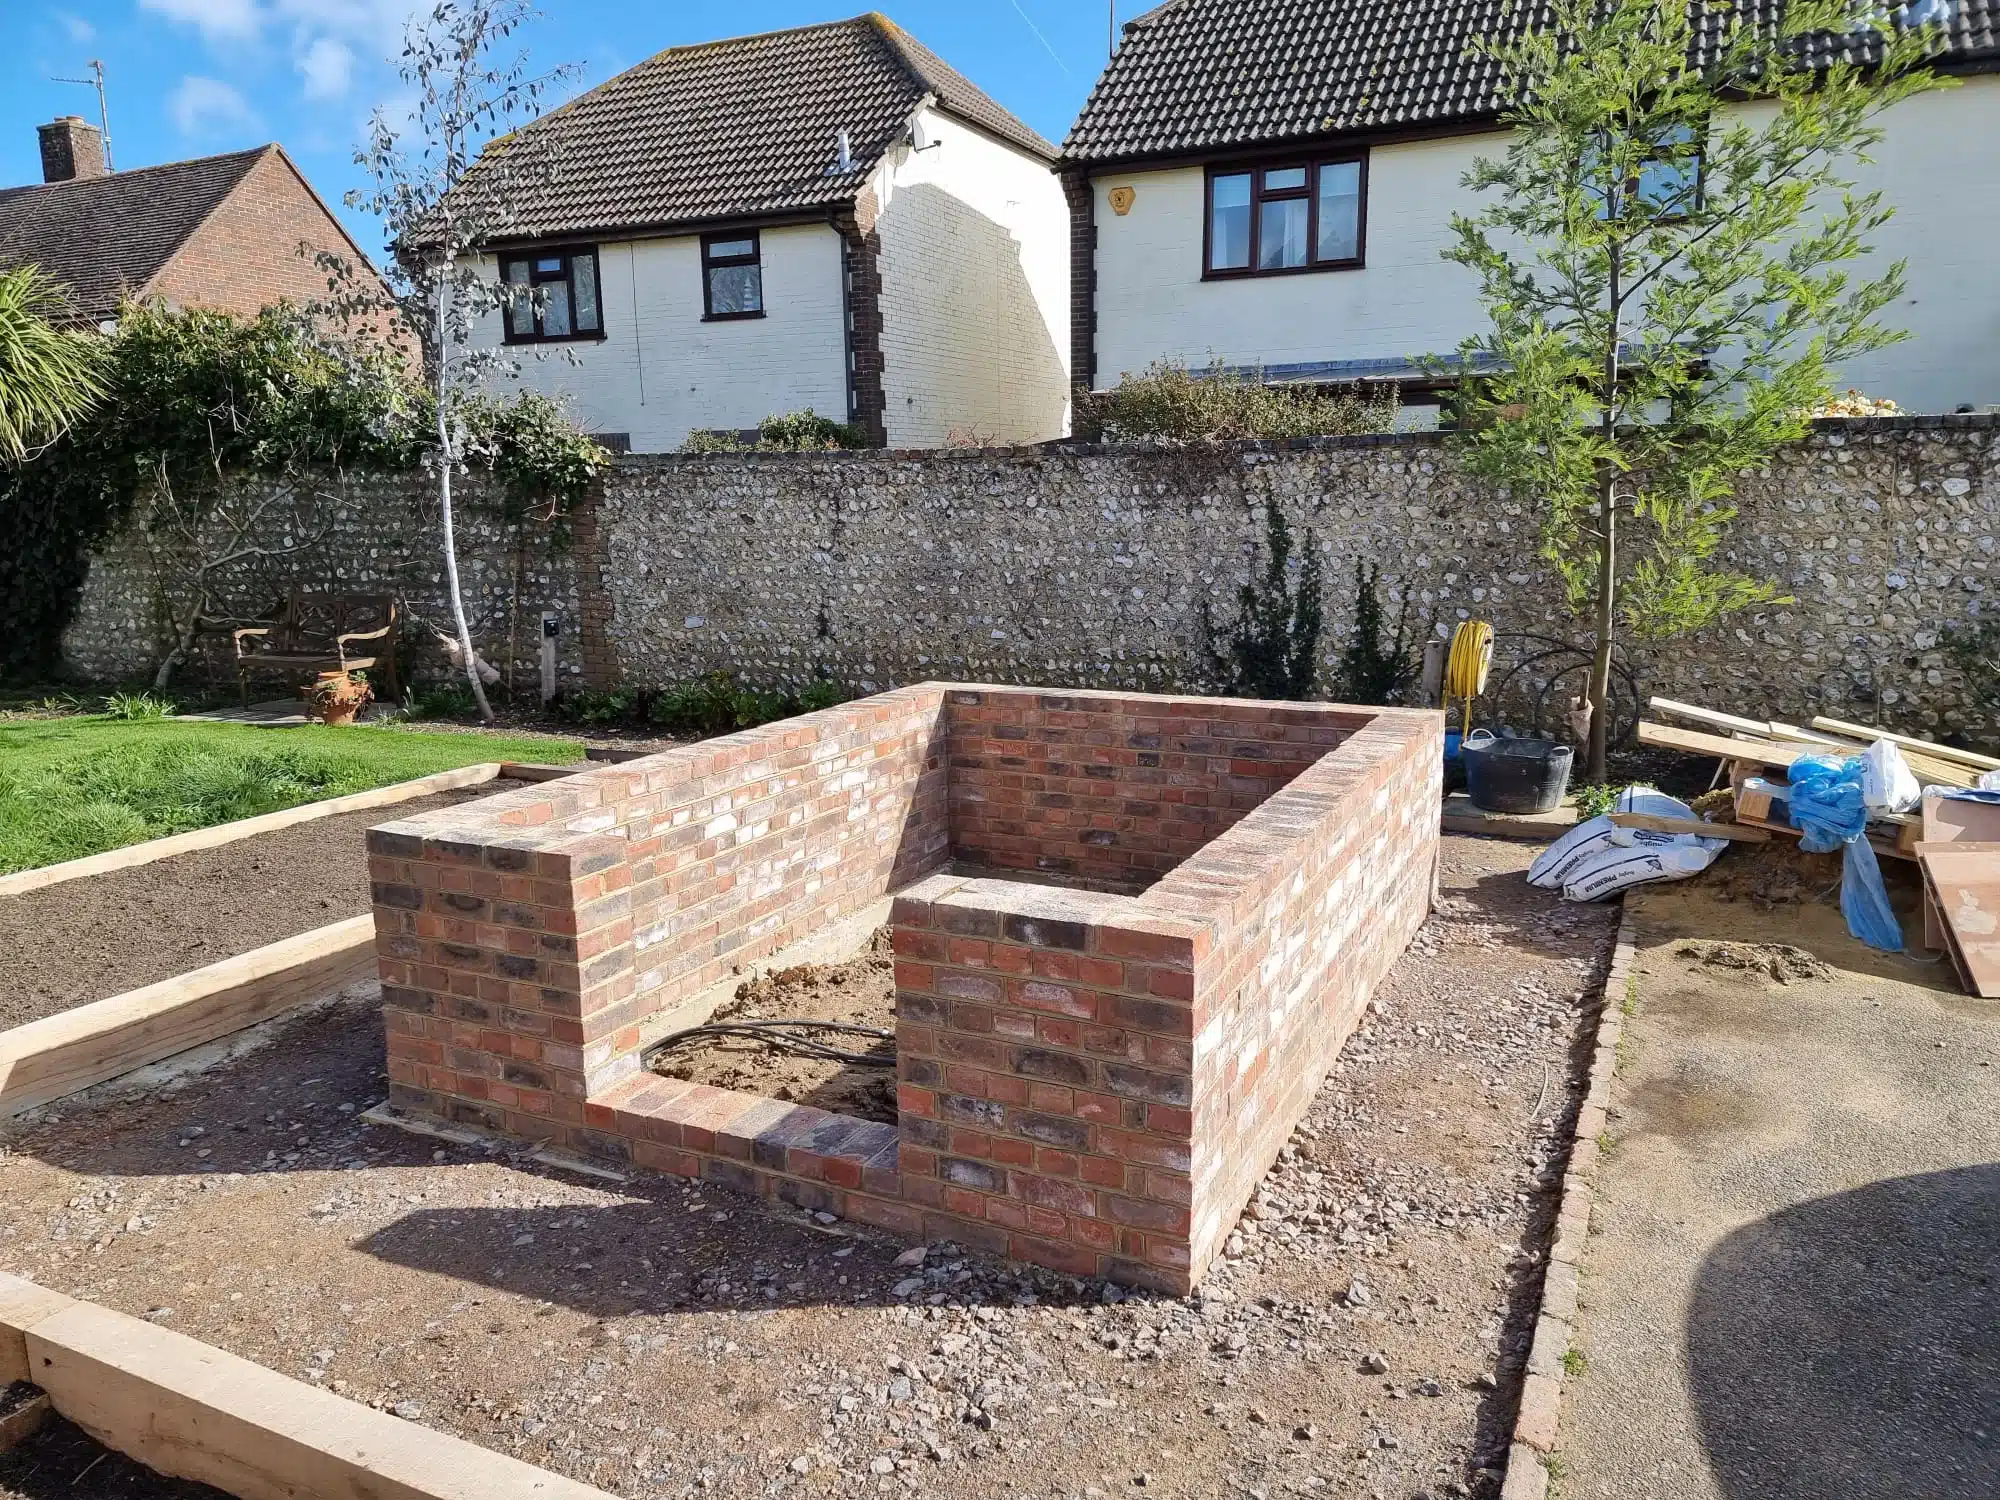
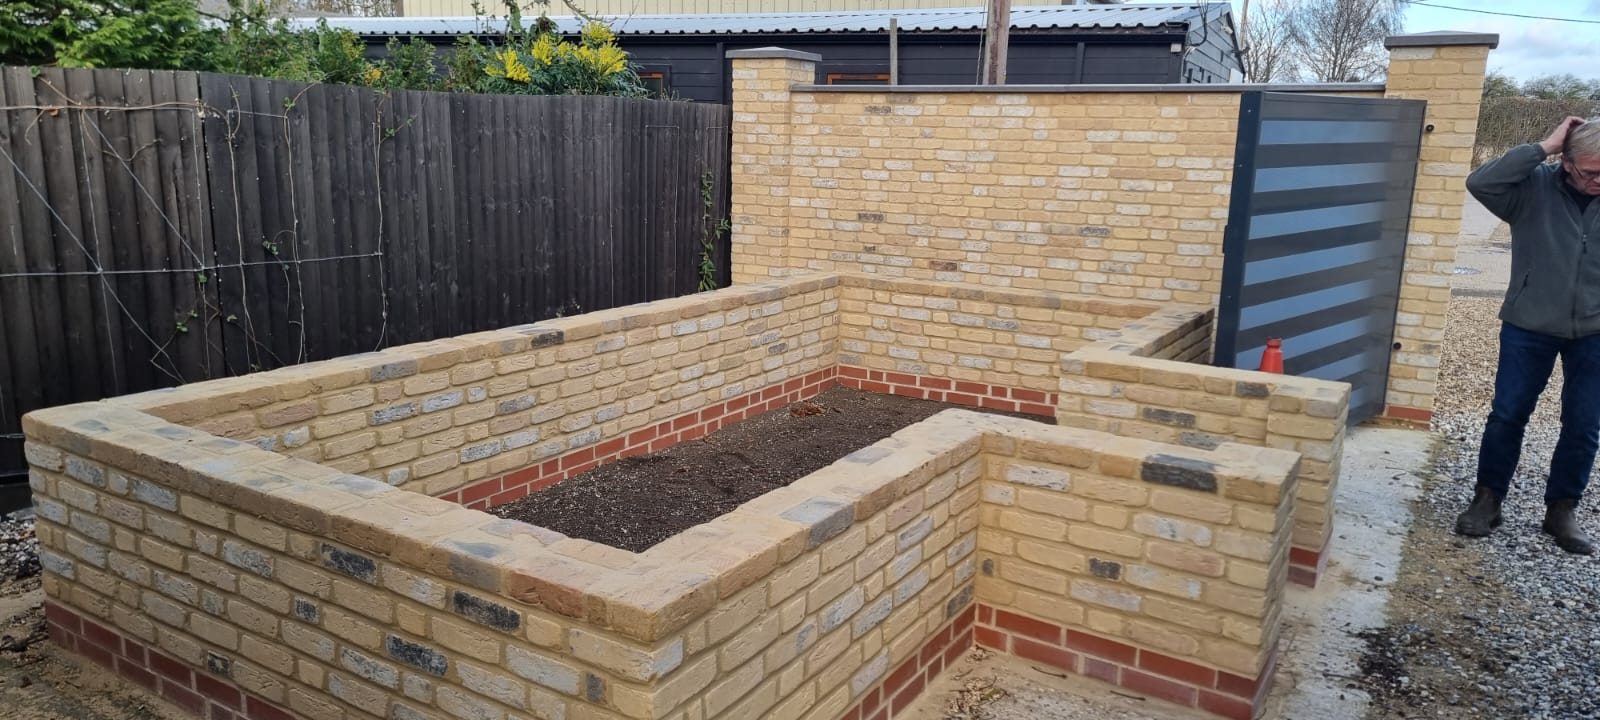
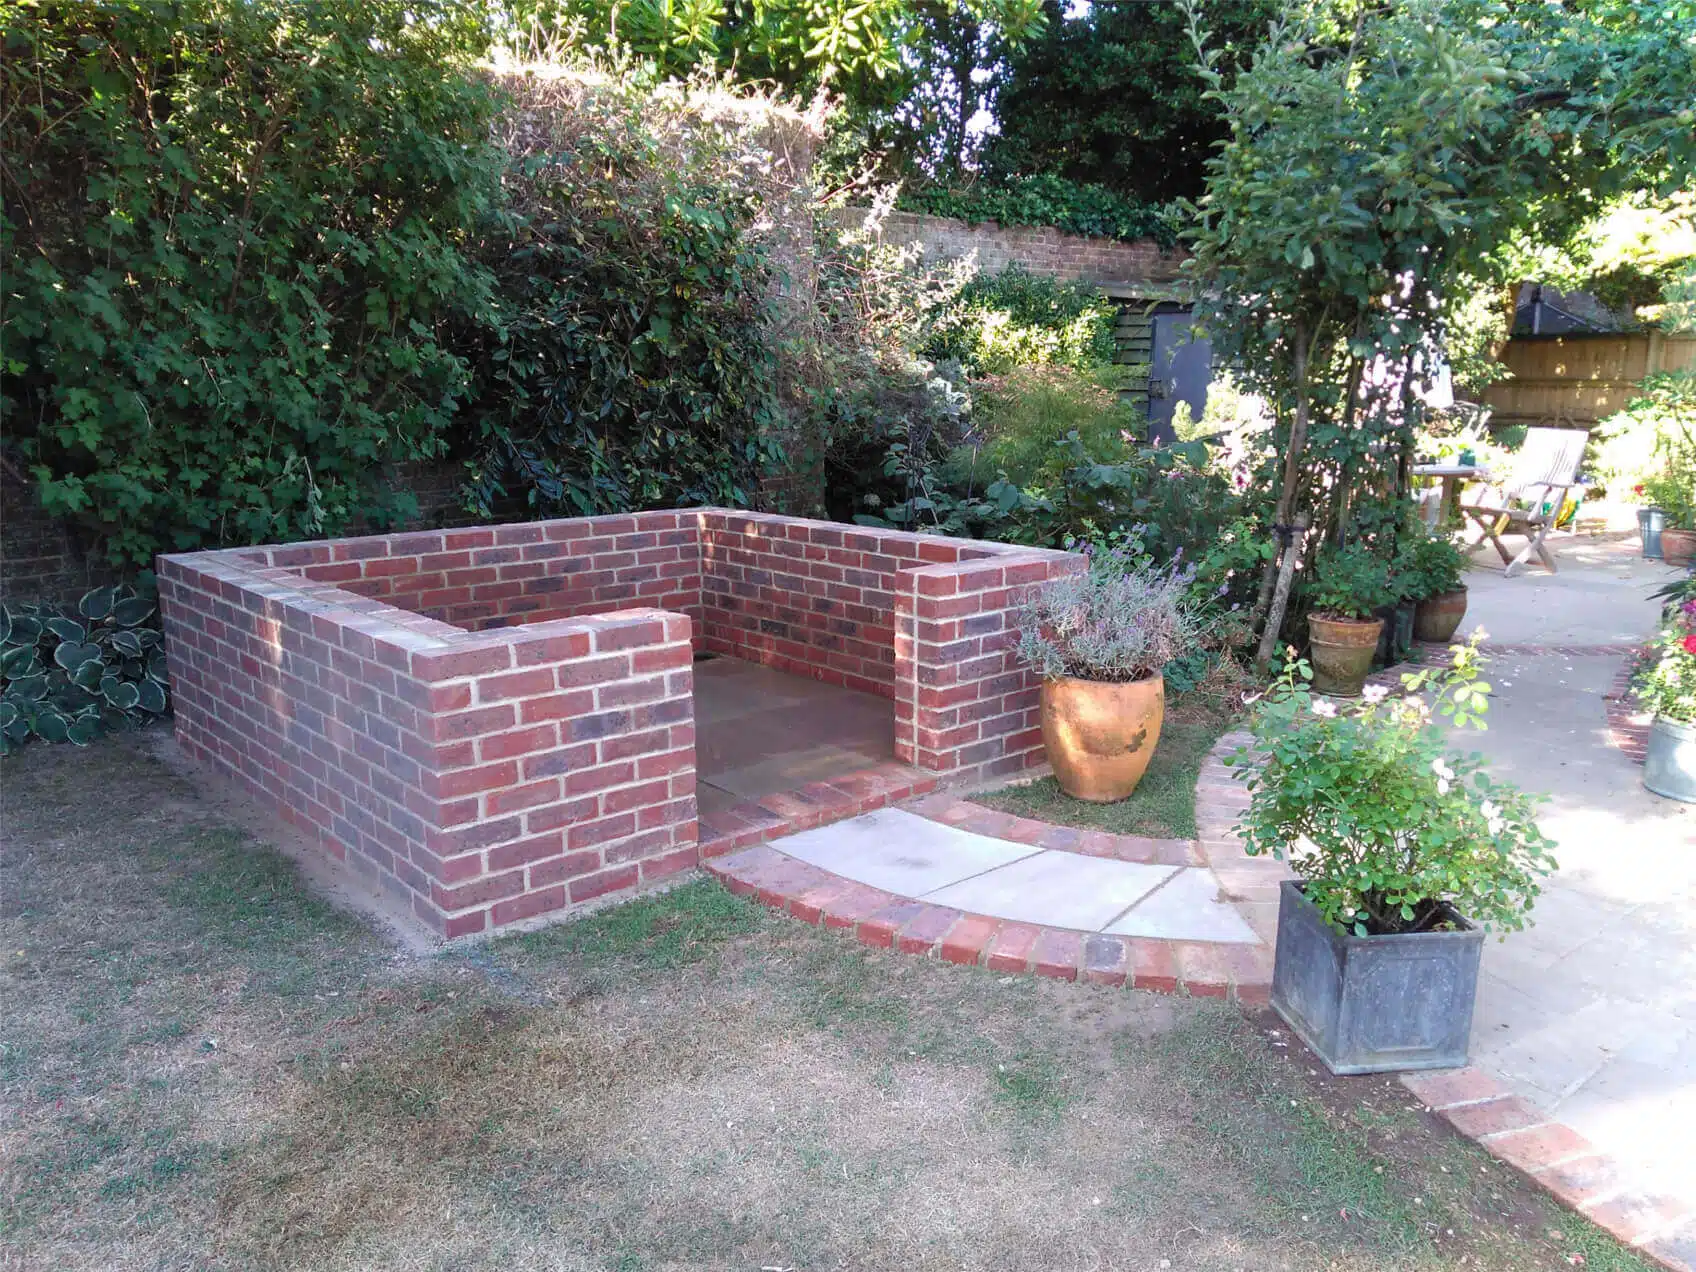
You may choose to increase the width of the footing to accommodate blocks, standard code isusually to allow 4” of concrete either side of the stem wall. If you plan to face an 8” block say with a4” stone veneer exterior then your footing ought to be 16” wide. This will sit approximately 26 inchesabove floor level but exact dimensions will be provided on the plan that we provide when youpurchase a greenhouse. Finally it's good practice to soild grout corner posts between anyblockwork and veneer and this will provide a good anchor point when it comes to securing thegreenhouse. In hardiness zones 3,4,5,6 and even 7 you might want to consider installing a two inchrigid insulation foam to sit against the wall up to floor level and this will help keep the structurewarmer in winter by offering some protection from frost permeating the footing.
Glasshouse Flooring
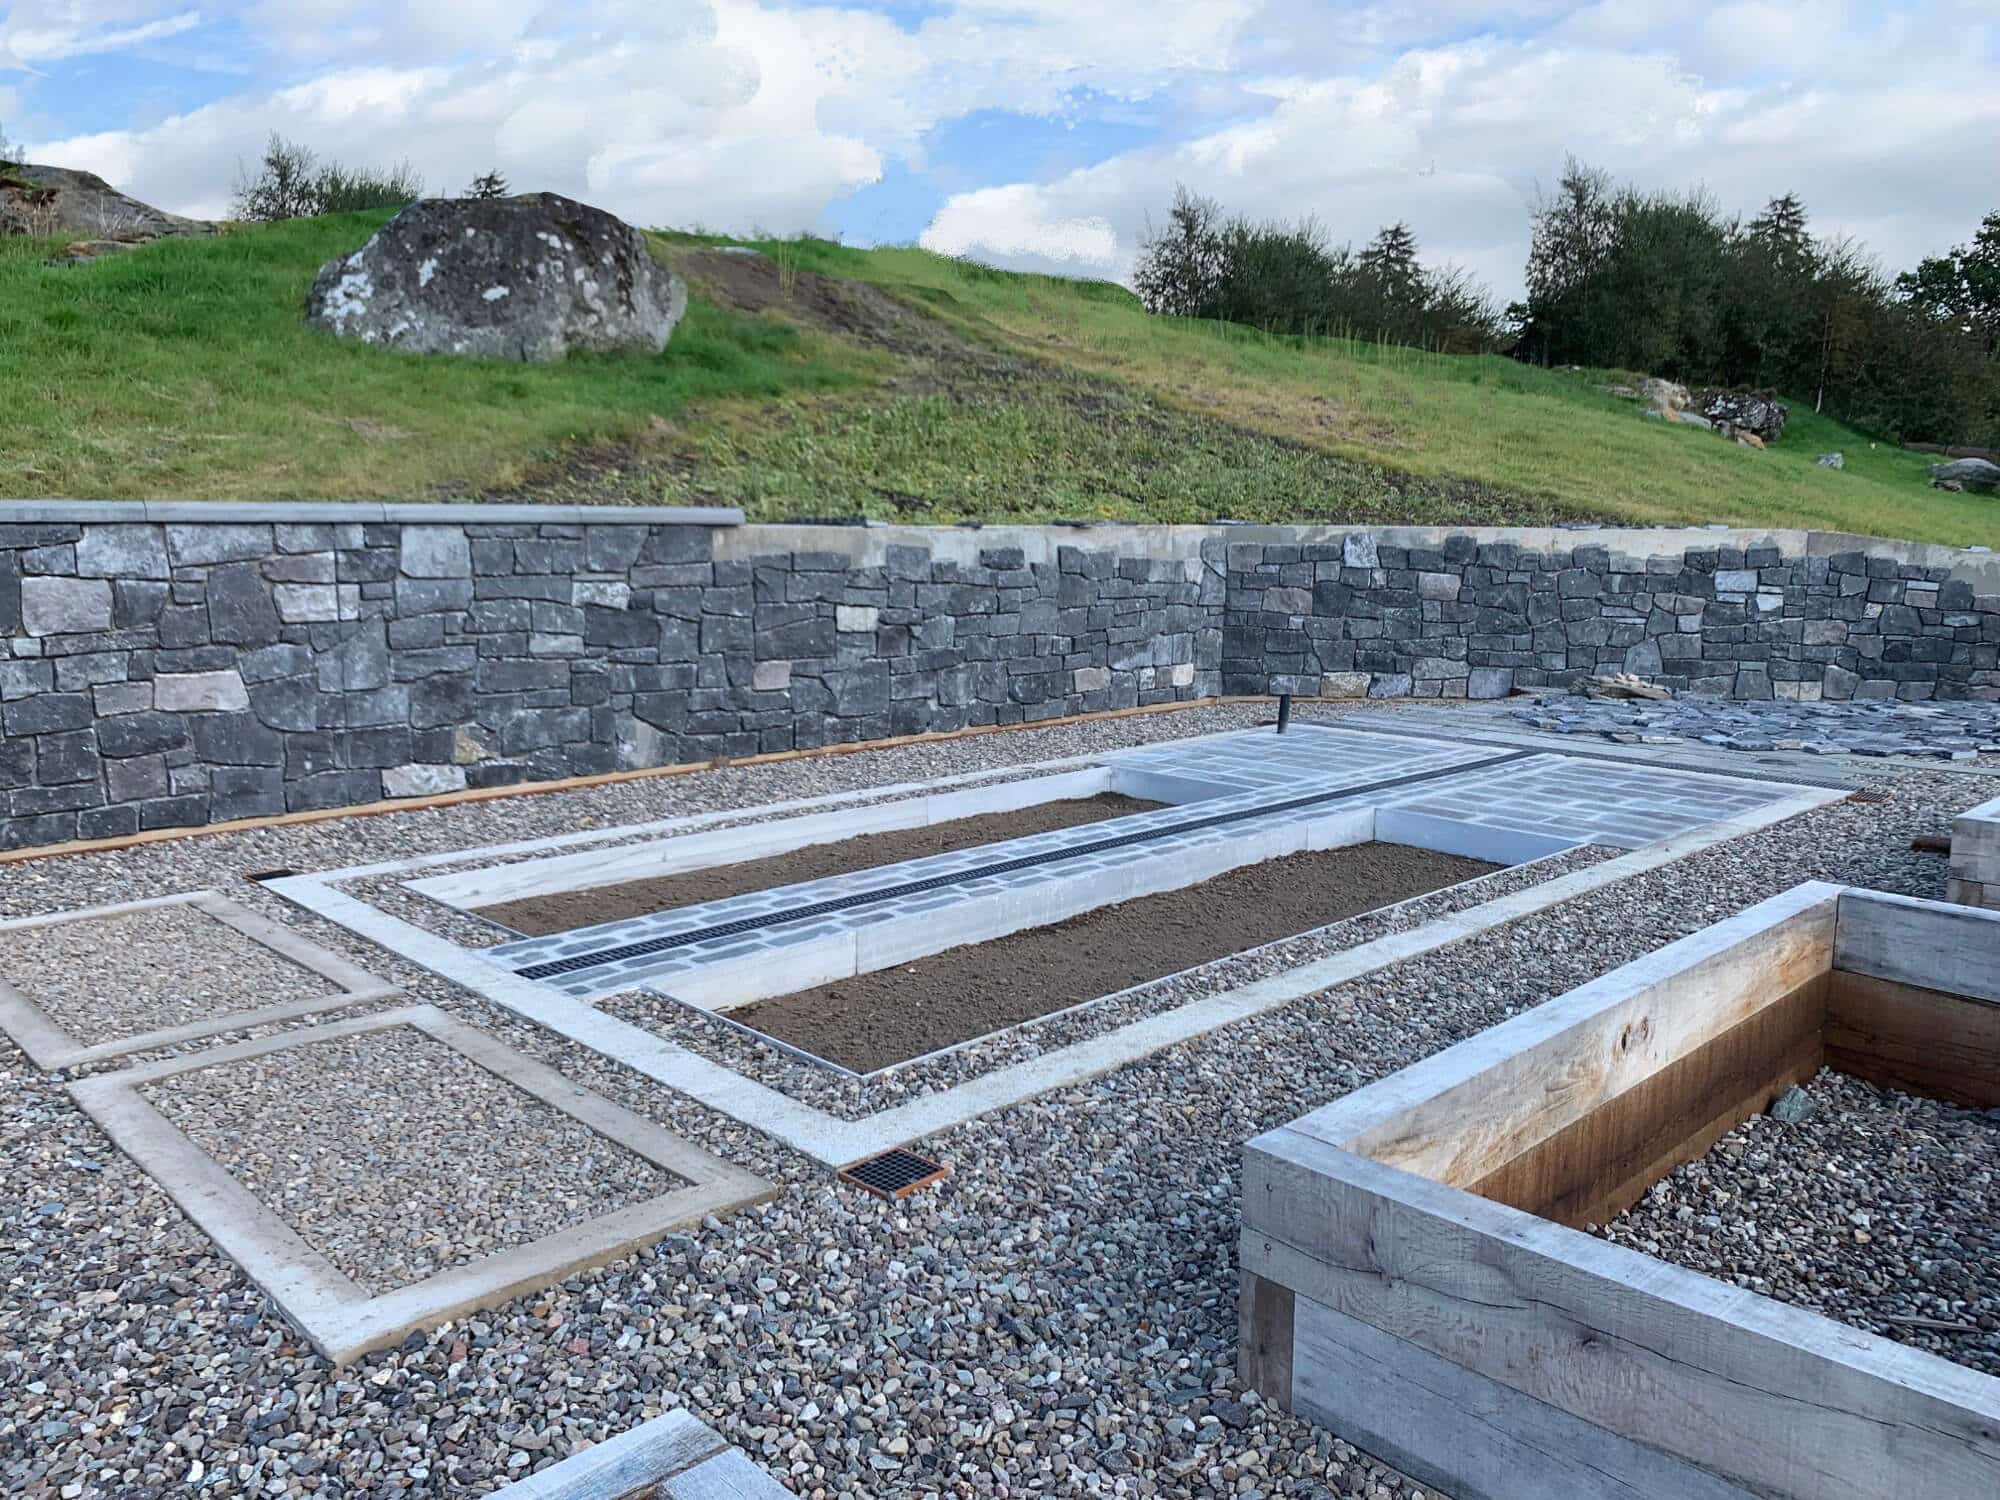
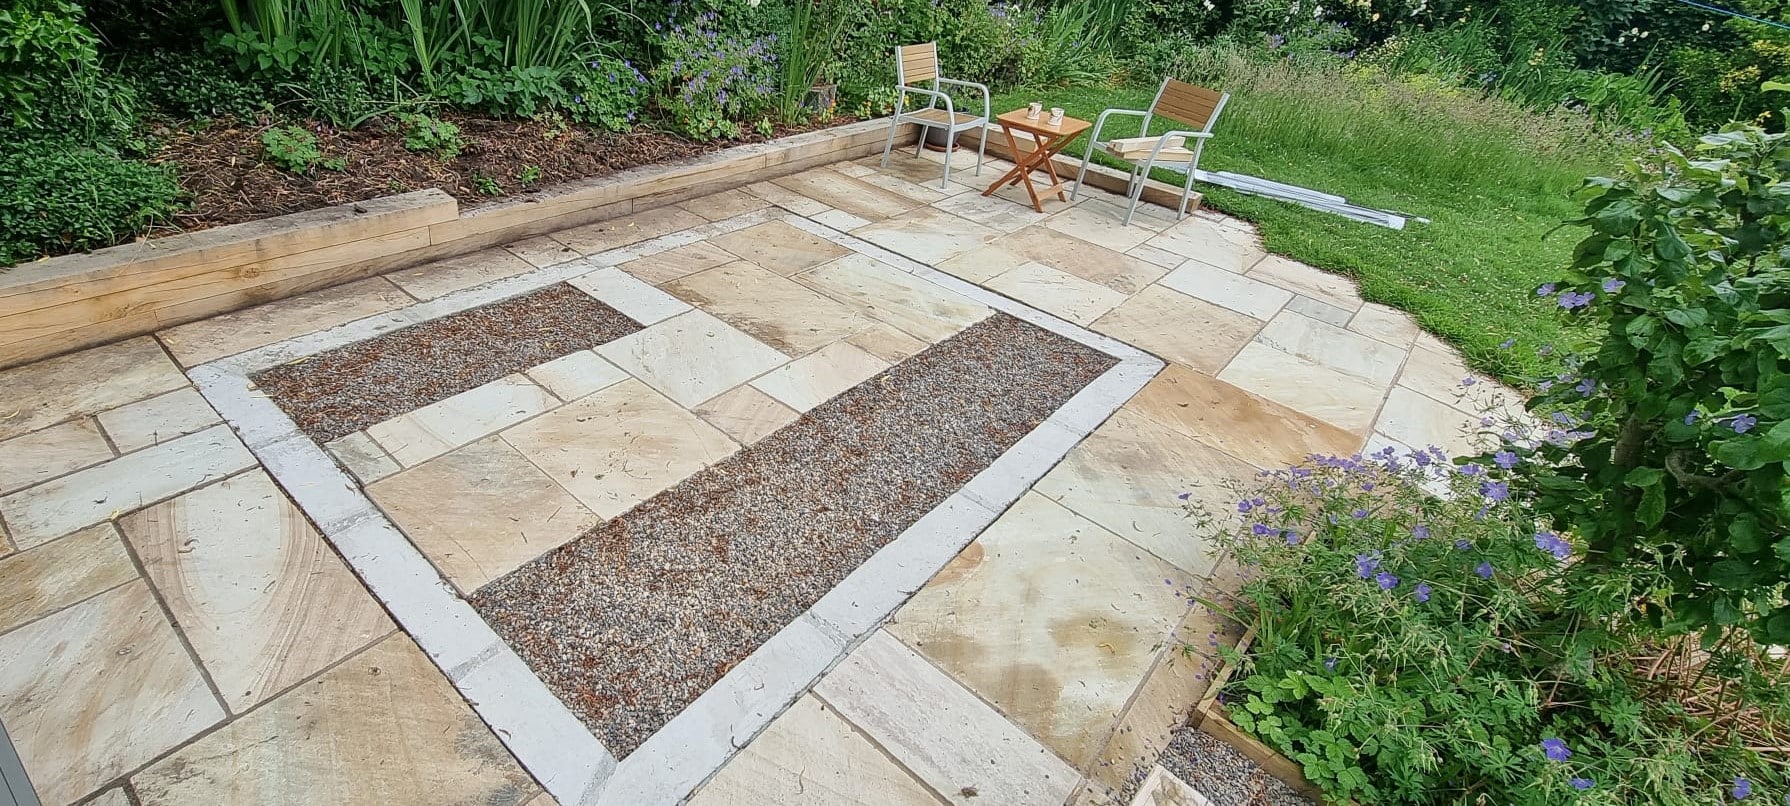
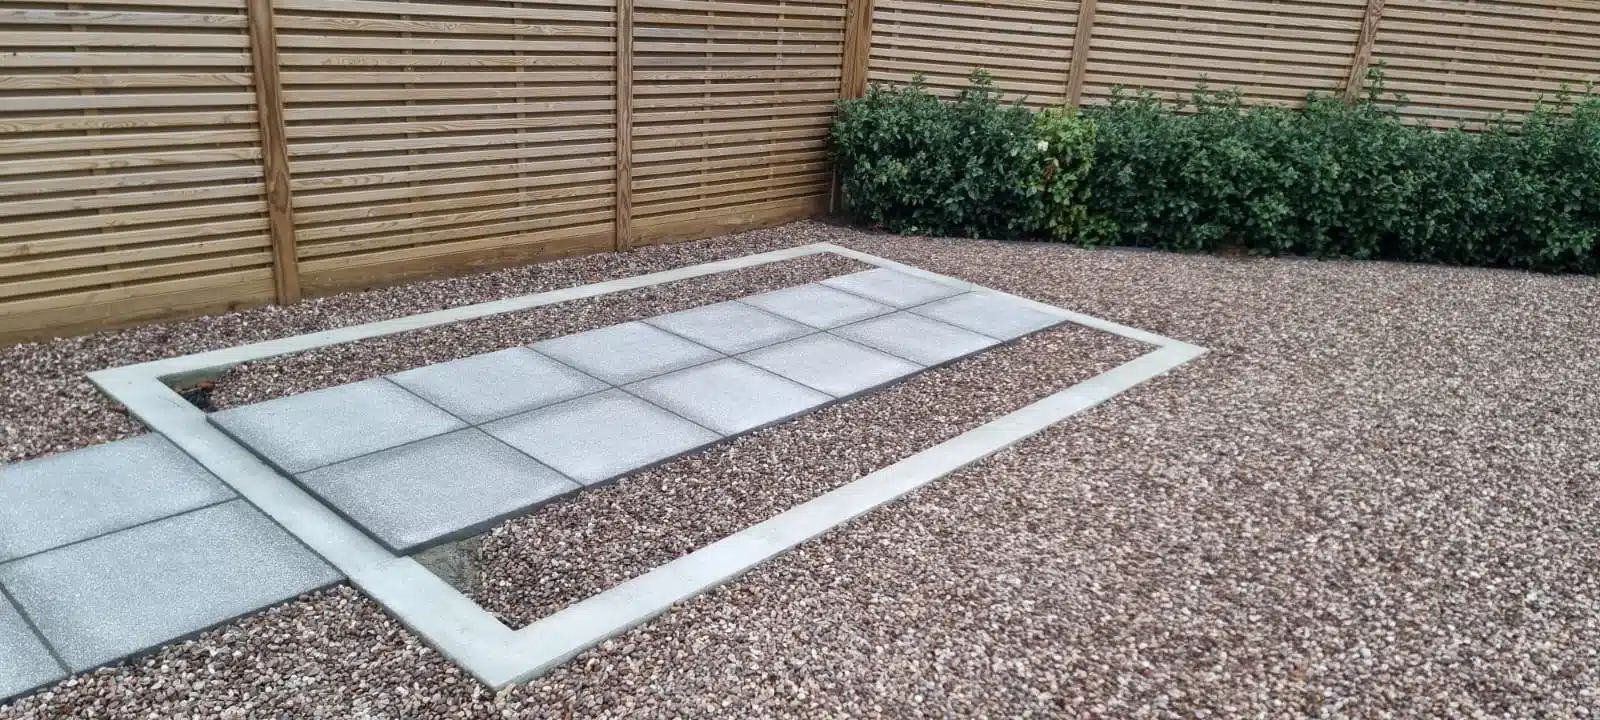
The options for the floor in a glasshouse are many and varied and a chance for you to put your ownstamp on it. Burt before you start there are a few practical considerations. Since greenhouse arewet environments and you'll frequently be watering plants then proper drainage is essential toprevent waterlogging and to promote healthy plant growth. Consider including french drains ortrench drains internally to carry off any surface water, you don't want to be standing in puddleswhen you're busy in the greenhouse. Any drainage is best placed under any greenhouse staging andwhere you plan to place pots at either side of a central path say.
We provide a plan with accurate dimensions for the construction of the base and walling for your cultivar greenhouse. We do not provide specifications for floors or heating systems but you might find the below information helpful to aid discussions with your mason or landscaper.
Heating a Glasshouse Floor
Before constructing your footing or stem wall for the greenhouse it's a good idea to think about practicalities such as drainage and heating. Including ducts at this stage for things like, electrics and water pipes may well save you having to cut through your greenhouse or wall at a later stage. If you're considering a radiant heating system in your greenhouse then the following information might give you some tips on the best way to go about this.
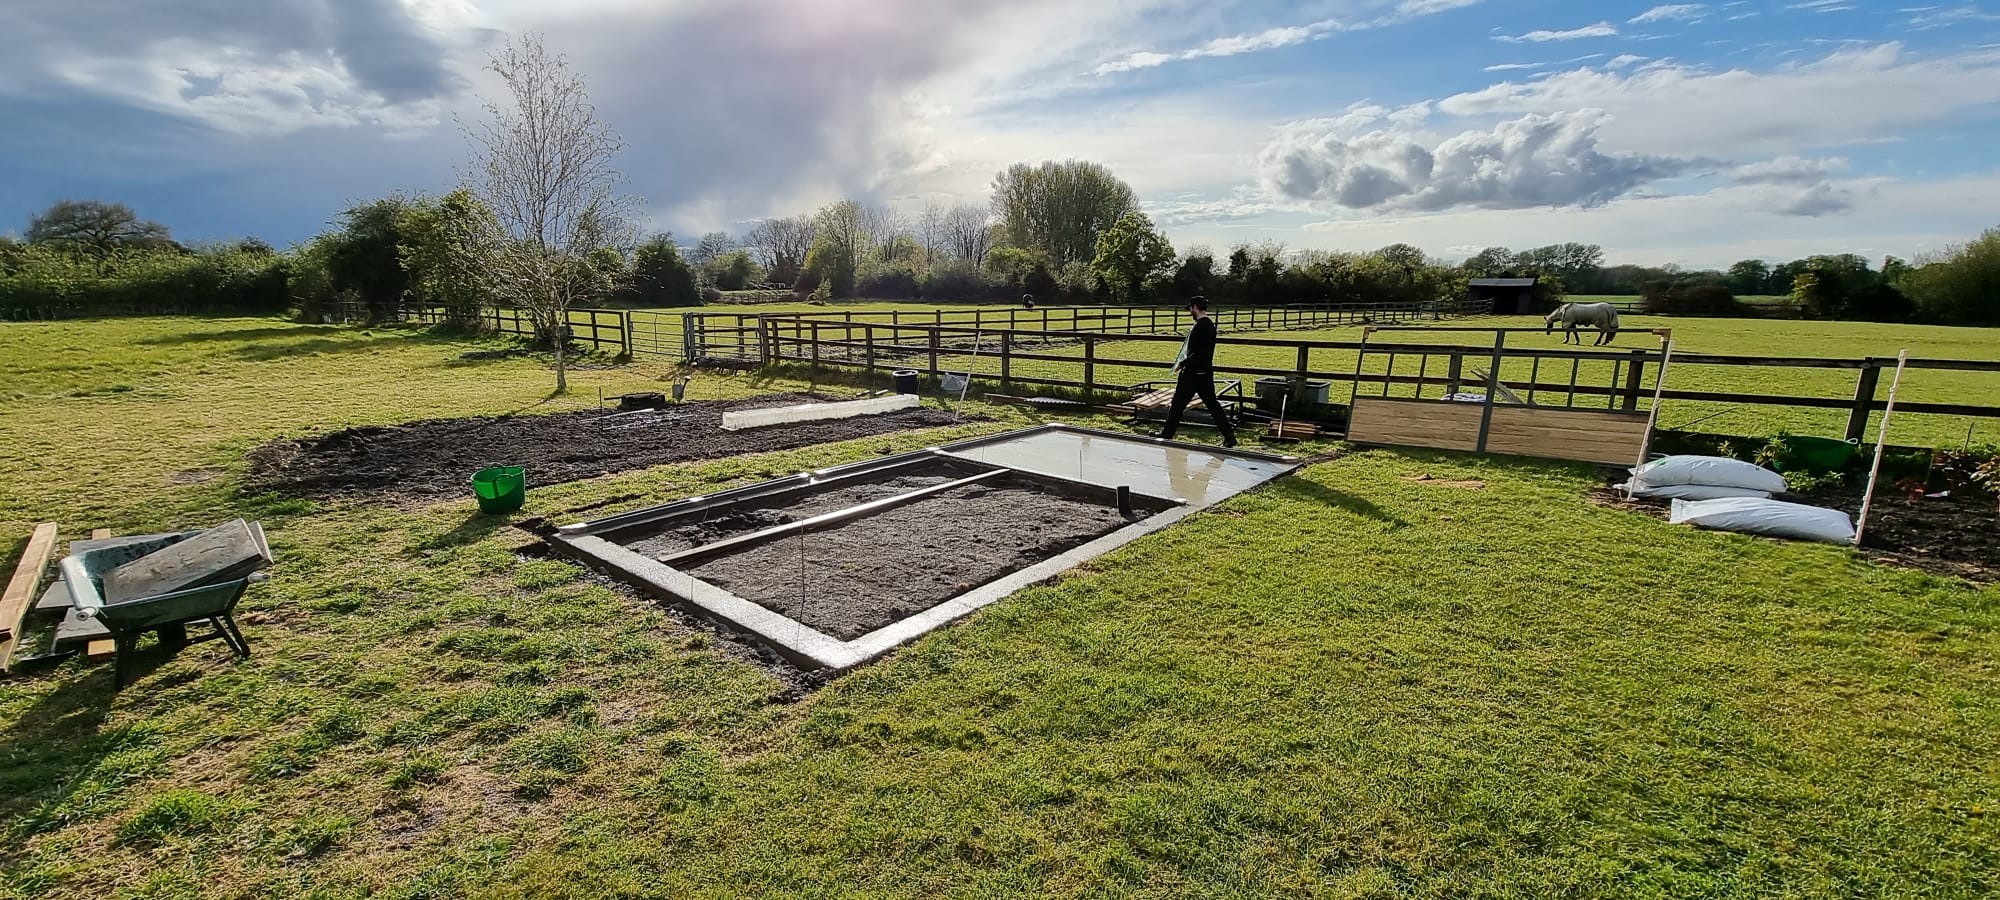
With your footing and ducts in place you might choose now to dig down enough to install a radiant heated base. Your mason will have their own thoughts on levels but we recommend the finished floor level should sit an inch or so below the top of the footing or door threshold. Compact the ground to 95% proctor, you'll want a minimum of 95% compaction rate. You may choose to insulate between the footing and base with a 2” rigid insulation board. On top of the compacted soil lay a 6mm plastic vapor barrier to limit any rising moisture. Next lay 1 or 2 inch of solid insulation foam to help prevent heat dissipating into the ground. There's the option then to fix your pex pipes to this using foam board fasteners in a bifilar pattern. Or you might choose to lay a reinforcing steel mesh to zip tie any pipes to. With the pipe laid a final 4” layer of concrete can be poured to bring this up to your desired height. This could be set up with a single zone circulation pump relatively inexpensively. If you're planning to set up a radiant heating system in your greenhouse then the following information might give you some tips on the best way to go about this.


